
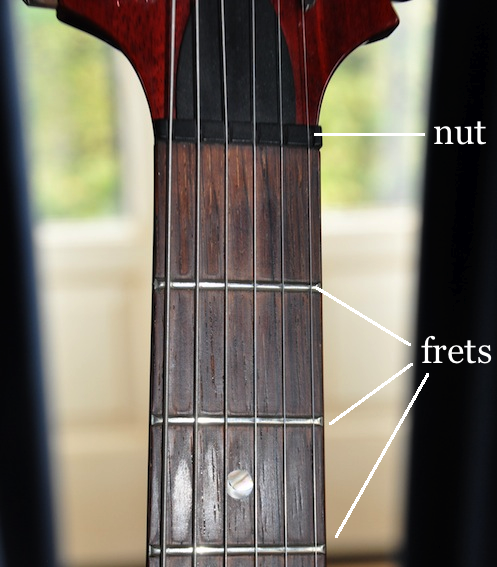
How to read a guitar chord grid
/If you know how to read a guitar chord grid, you can play lots of chords and tons of songs! It's pretty easy once you know what you're looking at.
The photo below shows the angle that the chord grid represents.
If you compare the photo above to the diagram below, you're 90% of the way there.

If the horizontal lines represent the frets, what do the vertical lines represent? Of course, the strings.
Here's a typical chord grid representing a G-chord, side by side with a photo of me playing it on the guitar:
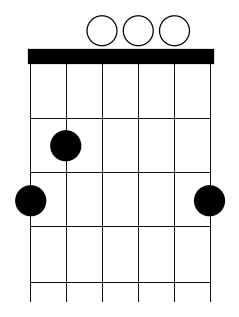
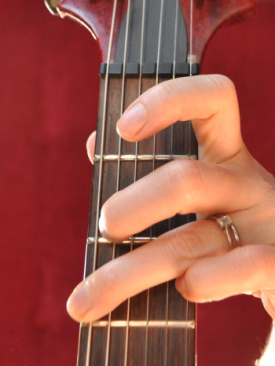
The black dots tell you where the fingers are placed, while the open circles represent open strings that will still be played even though there is no finger pressing them down. Note that the finger goes just behind the fret, not directly on top of it.
More naturally, it would look like this:
Often, you will encounter X's. This means that you should not include the strings with X's on them when you strum the chord.
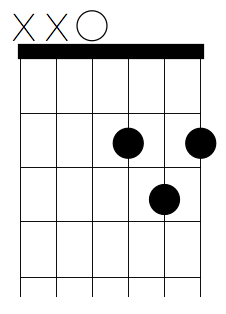
In the example above, you would leave out the lowest two strings, and strum only the top four (the skinniest ones).
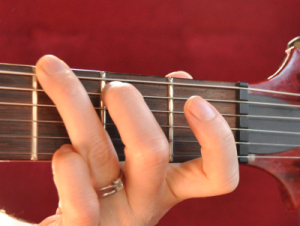
Sometimes you will encounter something like this:
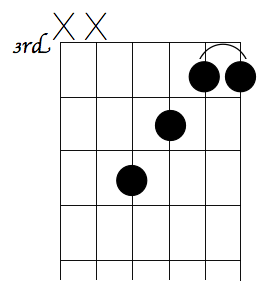 Notice the nut has disappeared - that's because we're at the third fret! There are two dots on the third fret, and the curved line indicates that we need to fret (or press down) both of those strings with one finger. In other words, it's a barre.
With this information, you're prepared to read most guitar chord grids you'll encounter.